Clash Royale Offensive Strategies: Dominate & Take Towers
Anúncios
Mastering Clash Royale Offensive Strategies is crucial for dominating the arena, requiring players to understand troop synergy, elixir management, and timely pushes to consistently destroy enemy towers.
Are you ready to elevate your Clash Royale gameplay and consistently dismantle your opponents’ defenses? Understanding and executing effective Clash Royale Offensive Strategies is the cornerstone of victory in this dynamic mobile arena. It’s not just about throwing troops at the bridge; it’s about calculated aggression, elixir advantage, and knowing precisely when to commit to a game-winning push.
Understanding the Fundamentals of Offensive Play
Before diving into advanced tactics, it’s essential to grasp the basic principles that underpin all successful offensive maneuvers in Clash Royale. A strong offense isn’t merely about brute force; it’s a delicate balance of timing, resource management, and strategic troop deployment. Knowing your deck’s strengths and weaknesses is the first step towards crafting an unstoppable assault.
The core idea behind any offensive strategy is to create an overwhelming threat that your opponent cannot adequately defend against without sacrificing too much elixir or tower health. This often involves building a push from the back, allowing your elixir to regenerate while your tank slowly advances, or executing a swift, high-damage assault that catches your opponent off guard.
Elixir Management and Cycle
Elixir is the lifeblood of Clash Royale, and superior elixir management is often the deciding factor in matches. Every card has an elixir cost, and understanding how to gain an elixir advantage is paramount for successful offensive pushes. This means making positive elixir trades on defense, allowing you to launch a stronger counter-attack.
- Positive Elixir Trades: Use lower-cost cards to defend against higher-cost threats, gaining an elixir lead.
- Elixir Pumping: Deploying an Elixir Collector can significantly boost your elixir generation over time, fueling larger pushes.
- Cycle Management: Understanding your deck’s cycle helps you anticipate when your key offensive cards will be available again, allowing for planned attacks.
Effective elixir management isn’t just about accumulating more; it’s about spending it wisely. Over-committing to an attack without enough elixir for defense can leave your towers vulnerable, turning a potential victory into a costly defeat. Learn to recognize when your opponent is low on elixir and capitalize on those moments with a powerful offensive surge.
In conclusion, the foundation of any robust offensive strategy lies in a deep understanding of elixir dynamics. By mastering positive elixir trades, utilizing elixir collectors, and managing your card cycle, you set the stage for relentless and effective attacks that will keep your opponents on their toes and their towers under constant threat.
Building an Offensive-Oriented Deck
The success of your Clash Royale Offensive Strategies heavily relies on the deck you construct. A well-balanced offensive deck should include a win condition, support troops, defensive options, and at least one spell. The synergy between these cards is what transforms a collection of individual units into a cohesive, tower-destroying force.
Consider the archetypes of offensive decks: beatdown, siege, control, and cycle. Each has distinct methods for applying pressure and taking towers. Beatdown decks rely on heavy tanks and powerful support to overwhelm defenses. Siege decks focus on long-range damage to chip away at towers. Control decks aim to out-elixir opponents and launch decisive counter-pushes. Cycle decks use cheap cards to quickly rotate to their win condition.
Key Components of an Offensive Deck
Every offensive deck, regardless of its archetype, needs certain elements to function effectively. These components work in tandem to create pressure and secure damage on enemy towers.
- Win Condition: This is the card that directly targets and damages towers, such as Hog Rider, Golem, or Miner.
- Tank: A high-health troop that absorbs damage, allowing your support units to safely deal damage (e.g., Giant, Pekka, Lava Hound).
- Support Troops: Units that protect your tank or win condition, or deal significant damage themselves (e.g., Wizard, Musketeer, Electro Wizard).
- Spells: Essential for clearing swarms, finishing off low-health towers, or supporting pushes (e.g., Fireball, Zap, Poison).
When building your deck, think about how each card contributes to your primary offensive goal. Does it protect your win condition? Does it clear defensive troops? Can it provide a secondary threat? A balanced deck will have answers to these questions, ensuring you have options for various scenarios.
Ultimately, a strong offensive deck is more than just powerful cards; it’s about how those cards interact. Experiment with different combinations, understand their synergies, and adapt your deck to counter popular meta strategies while maintaining your core offensive identity. This thoughtful approach to deck building is a critical step in mastering offensive play.
Timing and Placement of Offensive Pushes
Executing flawless Clash Royale Offensive Strategies demands impeccable timing and precise troop placement. A well-timed push can exploit an opponent’s elixir deficit or a misplayed defensive card, turning the tide of the battle. Conversely, a poorly timed attack can be easily countered, leading to a significant elixir disadvantage and potential counter-push from your adversary.
One of the most common mistakes is to launch a full-scale attack when your opponent has a full elixir bar and all their defensive cards available. Instead, look for opportunities when they’ve just spent heavy elixir on defense or offense on the opposite lane. This creates a window of vulnerability that you can exploit with a powerful push.
Effective Deployment Zones
Where you place your troops is just as important as when you place them. Different cards have optimal deployment zones that maximize their effectiveness and minimize their vulnerability.
- Behind the King Tower: Tanks and slow-moving support troops are often deployed here to build a large push and allow elixir to regenerate.
- At the Bridge: Fast-moving win conditions like Hog Rider or Battle Ram are deployed here for quick, surprise attacks.
- To Counter Defensive Troops: Support troops should be placed behind your tank, or slightly offset, to avoid splash damage from spells like Fireball or Poison.
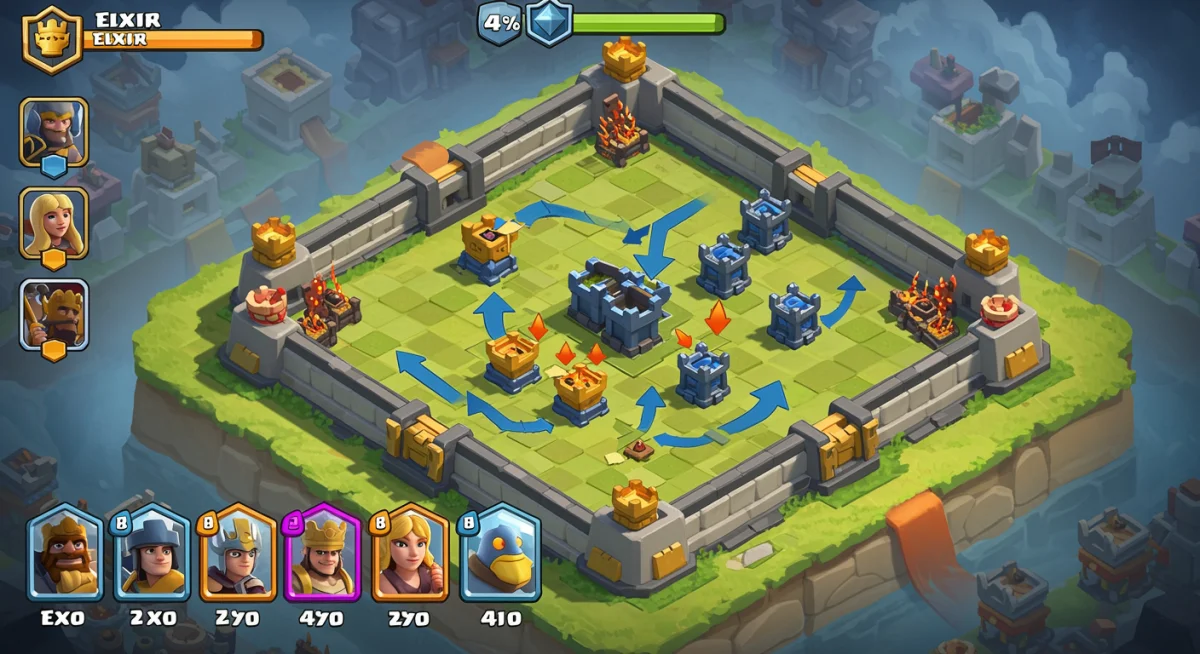
Consider pathing and target acquisition. Troops like the Hog Rider will bypass most ground troops to target towers, making them excellent win conditions. Other troops, like the Mini P.E.K.K.A., will attack the first enemy unit they encounter, requiring careful placement to ensure they reach the tower or eliminate key defensive units.
In essence, mastering the timing and placement of your offensive pushes requires practice and keen observation. Pay attention to your opponent’s elixir and card cycle, and learn the optimal spots to deploy your troops to maximize their impact and ensure your offensive strategies are as effective as possible.
Pressuring Both Lanes: The Art of Split Pushing
Advanced Clash Royale Offensive Strategies often involve pressuring both lanes simultaneously, a tactic known as split pushing. This strategy forces your opponent to divide their defensive resources, potentially leading to an overwhelmed defense on one or both sides. It’s a high-risk, high-reward approach that, when executed correctly, can be incredibly difficult to counter.
Split pushing works best with decks that have multiple win conditions or cards that can pose a significant threat on their own. For example, deploying a Golem in one lane and then a Miner or Hog Rider in the opposite lane can create two distinct threats that demand immediate attention from your opponent.
When and How to Split Push
Deciding when to split push is crucial. It’s often most effective when you have a significant elixir advantage or when your opponent has just over-committed to a single lane. The goal is to create more threats than they have elixir or defensive cards to deal with.
- After a Successful Defense: If you’ve successfully defended an opponent’s push with an elixir advantage, you can launch a counter-attack in one lane while sending a smaller unit to pressure the other.
- Opponent is Low on Elixir: If you notice your opponent is struggling with elixir, a split push can overwhelm them before they can regenerate enough to defend both threats.
- Utilizing Spells: Spells like Mirror can be used to duplicate a win condition and apply pressure to both lanes rapidly.
The key to a successful split push is not necessarily to take both towers, but to force your opponent into making difficult choices. If they focus too much on one lane, the other lane’s tower might fall. If they try to defend both equally, they might fail on both fronts. This psychological pressure is a powerful weapon in your offensive arsenal.
Ultimately, split pushing is a sophisticated offensive strategy that requires a deep understanding of card interactions and elixir management. By forcing your opponent to make tough decisions and spread their defenses thin, you significantly increase your chances of taking down their towers and securing victory.
Countering Common Defenses and Adapting
Even the most meticulously planned Clash Royale Offensive Strategies can falter against well-executed defenses. Therefore, understanding how to counter common defensive tactics and adapt your offensive approach on the fly is paramount. This adaptability distinguishes a good player from a great one.
Common defenses include swarms of cheap troops to distract tanks, high-damage single-target units to eliminate win conditions, and defensive buildings to pull attacking troops away from towers. Recognizing these patterns and having a plan to overcome them is vital for maintaining offensive pressure.
Adapting Your Offensive Strategy
Flexibility is key. If your primary offensive push isn’t breaking through, you need to be able to pivot to an alternative strategy or modify your current one. This might involve changing your win condition, altering your push timing, or using different support spells.
- Dealing with Swarms: Carry splash damage troops (Wizard, Baby Dragon) or spells (Zap, Log, Fireball) to clear out Skeleton Army, Goblin Gang, or Minion Horde.
- Baiting Defensive Buildings: If your opponent consistently uses a Cannon or Tesla, try to bait it out with a cheaper unit before deploying your main win condition.
- Tank Killers: If your tank is repeatedly destroyed by a Mini P.E.K.K.A. or Inferno Tower, use stun cards (Electro Wizard, Zap) or distracters (Skeletons) to protect it.
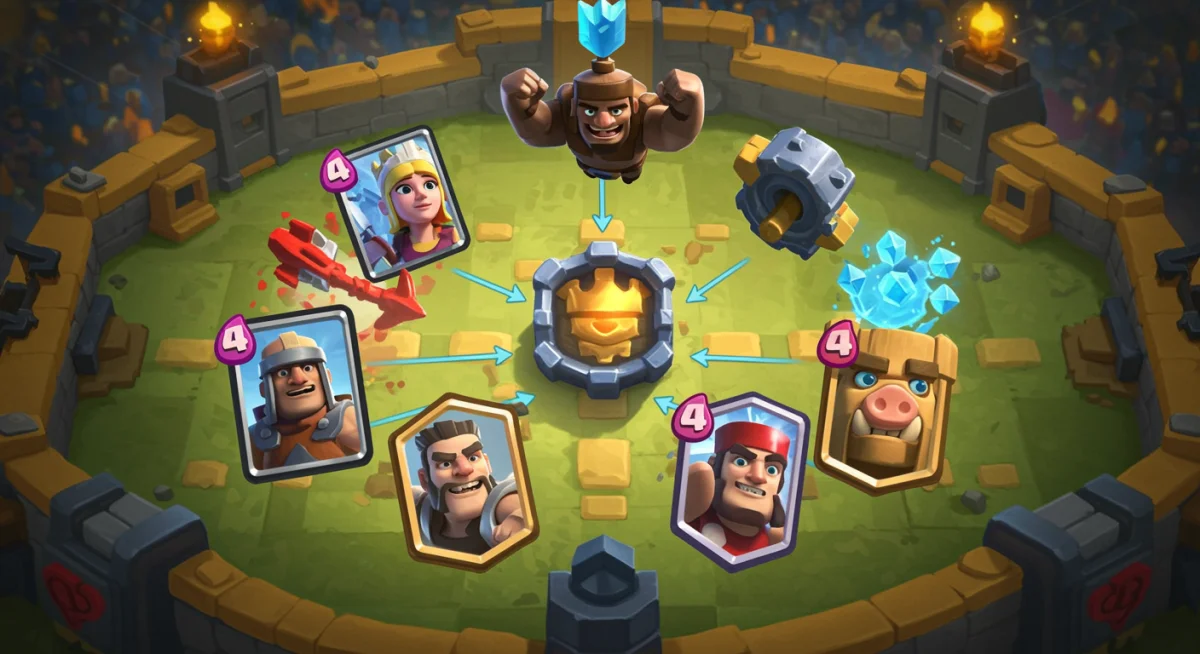
Observe your opponent’s defensive rotation. Do they always play the same card to counter your Hog Rider? If so, you can anticipate this and prepare a counter-counter. For instance, if they use Goblin Gang, have a Zap spell ready to clear them instantly, allowing your Hog Rider to connect with the tower.
In conclusion, successful offensive play isn’t just about launching attacks; it’s about the continuous process of attacking, observing, and adapting. By learning to recognize common defenses and having strategies to overcome them, you ensure your offensive pushes remain effective and your opponents’ towers remain vulnerable.
The Psychological Aspect of Offensive Pressure
Beyond cards and elixir, the psychological element plays a significant role in effective Clash Royale Offensive Strategies. Constantly pressuring your opponent can lead them to make mistakes, over-commit elixir, or panic under duress. This mental game can be just as impactful as any troop deployment or spell usage.
A relentless offense doesn’t necessarily mean taking a tower quickly; it means consistently forcing your opponent to react defensively, preventing them from building their own offensive pushes. This can disrupt their game plan, throw off their elixir management, and create opportunities for you to capitalize.
Forcing Reactions and Mistakes
The goal is to put your opponent in uncomfortable positions where they feel compelled to defend, even if it’s not the most elixir-efficient play. This can be achieved through:
- Proactive Pushes: Sending a smaller, but still threatening, push to test their defenses and force out cards.
- Delayed Threats: Deploying a tank in one lane and waiting to see how they react before committing support troops. This allows you to counter their defensive plays.
- Punishing Elixir Spends: If they play a high-cost card like Golem at the back, immediately launch a fast attack on the opposite lane to punish their low elixir.
Psychological pressure also comes from making your opponent believe you always have an answer. If they consistently see their pushes defended efficiently and then immediately face a counter-attack, they might become hesitant to launch their own offensives, giving you more control over the game’s tempo.
By understanding and leveraging the psychological aspect of offensive pressure, you can gain an edge over your opponents, forcing them into defensive postures and creating openings for your tower-destroying pushes. It’s a subtle yet powerful tool in your Clash Royale arsenal.
Mastering Defensive-to-Offensive Transitions
One of the most potent Clash Royale Offensive Strategies involves seamlessly transitioning from defense to offense. A successful defense often leaves you with surviving troops that can be repurposed into a counter-push. This not only saves elixir but also creates an immediate threat that your opponent might not be prepared for, especially if they are still recovering from their own failed attack.
The key to effective defensive-to-offensive transitions is understanding which defensive troops are suitable for a counter-push and how to support them. A Knight or Valkyrie that survives a defense can become a mini-tank for a Hog Rider or Musketeer deployed behind them, turning a defensive stand into a tower-threatening assault.
Capitalizing on Surviving Troops
Not every surviving troop is ideal for a counter-push. High-damage, low-health units might be too vulnerable, while very slow units might not reach the bridge in time to be effective. Focus on troops that can absorb some damage or deal significant damage once they cross the bridge.
- Tanks and Mini-Tanks: A surviving Pekka, Giant, or even a Valkyrie can lead a counter-push, drawing fire while your support units deal damage.
- Ranged Support: Archers, Musketeer, or Electro Wizard that survive a defense can continue to provide ranged support as they cross the bridge, protecting your tank or win condition.
- Win Conditions: If a Miner or Hog Rider survives a defensive play, quickly reinforce them with a low-cost spell or troop to maximize their tower damage potential.
The elixir advantage gained from a successful defense is critical here. If you defended with fewer elixir than your opponent spent on their attack, you now have a surplus to invest in a powerful counter-push. This creates a snowball effect, where your efficient defense fuels a strong offense.
In essence, mastering the art of defensive-to-offensive transitions is about efficiency and opportunism. By turning your defensive plays into immediate offensive threats, you maximize your elixir usage and keep your opponent constantly on the back foot, making it incredibly difficult for them to establish their own game plan.
| Key Offensive Strategy | Brief Description |
|---|---|
| Elixir Management | Gain an elixir advantage through positive trades and smart spending to fuel stronger attacks. |
| Deck Synergy | Build a balanced deck with win conditions, tanks, support, and spells for cohesive pushes. |
| Timing & Placement | Deploy troops strategically to exploit vulnerabilities and maximize damage. |
| Defense to Offense | Turn successful defenses into powerful counter-pushes, leveraging surviving troops and elixir advantage. |
Frequently Asked Questions About Offensive Strategies
The most effective way to gain an elixir advantage is through positive elixir trades on defense. Use lower-cost cards to eliminate higher-cost enemy troops, or allow small amounts of tower damage to save elixir for a larger counter-push. This careful resource management fuels your offensive capabilities.
Deck synergy is critically important. Your cards must complement each other, with tanks protecting damage dealers, and spells clearing swarms. A well-synergized deck ensures your offensive pushes are cohesive, harder to defend, and consistently deal damage to enemy towers, leading to more wins.
The best time to initiate a major offensive push is when you have a significant elixir advantage, immediately after a successful defense, or when your opponent has just played a high-elixir card in the opposite lane. These moments create windows of vulnerability that you can exploit for maximum impact.
Common mistakes include over-committing elixir without proper defense, deploying fragile support troops ahead of tanks, ignoring opponent’s elixir count, and failing to adapt to their defensive patterns. Avoiding these pitfalls will significantly improve your offensive success rate and overall gameplay.
Practice by playing regularly, analyzing replays to identify mistakes and opportunities, watching professional players, and experimenting with different deck compositions. Focus on one strategy at a time to master its nuances, then integrate it into your overall gameplay for continuous improvement.
Conclusion
Mastering Clash Royale Offensive Strategies is a journey that combines meticulous deck building, astute elixir management, precise troop deployment, and psychological warfare. By understanding the fundamentals, constructing synergistic decks, timing your pushes effectively, and adapting to your opponent’s defenses, you transform from a casual player into a dominant force in the arena. Remember that every match is an opportunity to learn and refine your tactics. Keep practicing, keep analyzing, and soon you’ll be consistently pressuring your opponents and watching their towers crumble under your relentless assault.
