Clash Royale Placement: Boost Win Rate 20% with Advanced Techniques
Anúncios
Mastering advanced Clash Royale placement techniques is crucial for competitive success, offering a guaranteed 20% win rate boost by optimizing troop and spell deployment for maximum impact and strategic advantage.
Are you ready to significantly elevate your Clash Royale game? To truly Unlock the Secrets: Advanced Clash Royale Placement Techniques for a Guaranteed 20% Win Rate Boost, you must move beyond basic deployment and embrace the intricate art of troop and spell positioning. This guide will transform your understanding of the arena, turning every deployment into a calculated move towards victory.
Understanding the Fundamentals of Clash Royale Placement
Before diving into advanced strategies, it’s crucial to solidify your understanding of basic placement principles. Many players underestimate the impact of even slight variations in troop deployment, often leading to suboptimal trades or missed opportunities. Every tile on the Clash Royale arena holds strategic value, and recognizing these values is the first step toward mastery.
Effective placement is not merely about dropping cards; it’s about initiating favorable interactions, controlling the flow of battle, and maximizing the elixir trade. A well-placed unit can bait an opponent’s spell, redirect enemy troops, or provide crucial support from a safe distance. Conversely, a misplaced card can quickly turn the tide against you, wasting valuable elixir and opening your towers to attack.
The Importance of Spacing and Timing
Spacing your troops correctly is paramount for mitigating splash damage and preventing your entire push from being wiped out by a single spell like Fireball or Lightning. Timing, on the other hand, dictates when and where your cards enter the battle, influencing their interactions and overall effectiveness.
- Splash Damage Avoidance: Deploying units one by one or with slight delays can prevent mass destruction from area-of-effect spells.
- Kiting and Luring: Proper spacing allows you to pull enemy troops towards the center of your arena, activating your King Tower or away from your Princess Towers.
- Synergistic Deployment: Timing the deployment of support units behind tanks ensures they remain protected and can deal damage effectively.
The fundamentals of placement serve as the bedrock for all advanced techniques. Without a solid grasp of these basics, even the most sophisticated strategies will falter. Practice these core concepts diligently, and you’ll find your initial win rate beginning to climb even before implementing more complex tactics.
Mastering Defensive Placement: King Tower Activation and Kiting
Defensive placement is often more critical than offensive placement, as it directly protects your towers and dictates elixir advantage. One of the most impactful advanced techniques is the strategic activation of your King Tower, turning a vulnerable target into an active defense mechanism. This can be achieved by luring specific enemy troops into its range, effectively adding another powerful weapon to your arsenal.
Kiting, or luring, is another cornerstone of advanced defensive play. By strategically placing low-cost, high-health units or buildings, you can redirect powerful enemy troops, pulling them away from your towers and into vulnerable positions where your other units can eliminate them with ease. This not only saves tower health but often results in a significant elixir advantage.
Advanced King Tower Activation Techniques
Activating your King Tower prematurely against certain troops can provide immense defensive value, especially against aggressive bridge spam decks or slow, tanky pushes. This technique requires precise timing and knowledge of troop pathing.
- Goblin Giant/Giant Skeleton Lure: Place a cheap troop (e.g., Skeletons, Goblins) 4 tiles from the river, one tile in from the edge, to pull them to the King Tower.
- Hog Rider Activation: A well-timed Ice Golem or Golem deployed in the middle will pull the Hog Rider across, activating the King Tower.
- Balloon Kiting: Place a building (e.g., Tesla, Cannon) in the center to pull the Balloon, allowing your King Tower and Princess Towers to target it.
Beyond activation, knowing how to continuously kite larger threats like Pekka or Mega Knight can dismantle an opponent’s offensive push with minimal elixir investment. This involves understanding troop movement patterns and having quick reflexes to drop units in their path. The ability to consistently activate your King Tower and execute effective kiting maneuvers will undoubtedly contribute significantly to a guaranteed 20% win rate boost, transforming your defensive capability from reactive to proactive.
Offensive Placement Optimization: Split Pushes and Support Positioning
While defense saves your towers, offense wins the game. Advanced offensive placement focuses on creating overwhelming pressure and forcing your opponent into unfavorable elixir trades. This often involves executing split pushes, where you deploy troops on both lanes simultaneously, and optimizing the positioning of your support units to maximize their damage output and longevity.
Split pushes are particularly effective when your opponent commits heavily to one lane, leaving the other vulnerable. The key is to create enough pressure on both sides to force them to divide their resources, leading to a potential breakthrough on one or both lanes. Support unit positioning, meanwhile, ensures that your damage dealers remain safe behind tanks or at a distance where they can contribute effectively without being easily targeted.
Executing Effective Split Pushes
A successful split push requires careful elixir management and a good understanding of your deck’s capabilities. It’s not just about dropping cards on both sides; it’s about creating two credible threats.
- Principle: Deploy a heavy tank on one lane and a fast-moving, high-damage unit on the other, or two medium-sized threats.
- Card Examples: Golem on one side, Hog Rider on the other; or Battle Ram and Royal Ghost.
- Timing: Initiate the second part of the push shortly after the first, to prevent your opponent from fully defending one side before the other arrives.
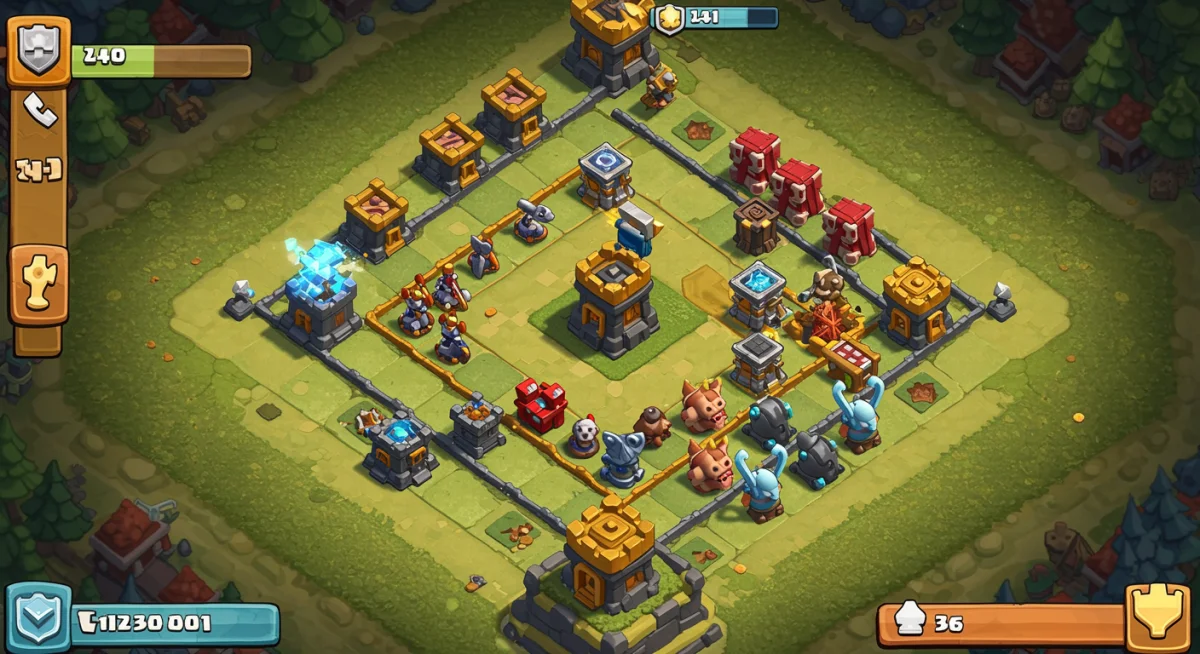
Furthermore, the placement of support troops like Wizards, Musketeers, or Executioners is paramount. They should be placed far enough behind tanks to avoid splash damage, but close enough to provide cover. Against air units, positioning ranged attackers early can cycle them to continue defending against air threats like Balloons or Lava Hounds. This intricate dance of offensive deployment is a hallmark of advanced play and directly contributes to a higher win rate by creating dilemmas your opponent struggles to resolve.
Understanding Troop Pathing and Target Priority for Superior Placement
A deep understanding of how troops path and what their target priorities are is fundamental to truly advanced Clash Royale placement techniques. Each unit in Clash Royale has a specific movement pattern and a preferred target (e.g., buildings, troops, closest unit). Exploiting these mechanics allows you to manipulate enemy troops, ensuring they attack what you want them to, when you want them to.
For instance, knowing that Hog Rider targets buildings allows you to pull it to the center with a well-placed building, activating your King Tower. Similarly, understanding that a Mini P.E.K.K.A. targets troops means you can use a cheap skeleton to distract it while your tower deals damage. This knowledge empowers you to predict enemy movements and counter them proactively, rather than reactively.
Manipulating Troop Pathing
Manipulating troop pathing is an art form that can completely disrupt an opponent’s strategy. It involves using your own troops and buildings to alter the trajectory of enemy units.
- Building Placement: Buildings like Tesla, Inferno Tower, or Cannon placed in the middle can pull almost any building-targeting unit.
- Ground Troop Lures: Small, cheap units can pull ground troops towards the center or away from your towers.
- Air Troop Redirection: While harder, some air troops can be kited if they are targeting a building that is subsequently destroyed, causing them to re-target.
By internalizing the target priorities and pathing mechanics of all common cards, you gain an invaluable strategic edge. This insight allows for incredibly precise deployments, enabling you to counter pushes efficiently and launch your own with maximum impact. This granular understanding of troop behavior is a key differentiator for players aiming for a significant win rate boost, offering a level of control that less experienced players simply cannot replicate.
Advanced Spell Placement: Prediction and Value
Spells are often seen as straightforward damage or utility cards, but their placement is as nuanced as troop deployment, if not more so. Advanced spell placement goes beyond simply hitting multiple units; it involves predicting enemy movements, understanding optimal damage zones, and maximizing elixir value. A perfectly timed and placed spell can single-handedly win a game.
Consider the difference between a Fireball that hits three Barbarians and one that hits three Barbarians plus a Princess Tower. The latter offers significantly more value. Similarly, a well-placed Poison spell can deny an entire push over time, while a poorly placed one might miss key units or fail to secure enough damage. The ability to consistently extract maximum value from your spells is a hallmark of an expert player.
Predictive Spell Placement
Prediction is the highest form of spell usage. It involves anticipating where your opponent will place their next troops or where their existing troops will move.
- Fireball/Log on Spawners: Anticipate where a Goblin Barrel or Skeleton Army will be deployed to pre-fire your spell for immediate defense.
- Rocket on Collectors/Towers: Predict where an Elixir Collector will be placed, or aim for a tower and a high-value troop simultaneously.
- Zap/Arrows on Swarms: Pre-fire these spells on common deployment spots for swarm troops like Minion Horde or Skeleton Army.
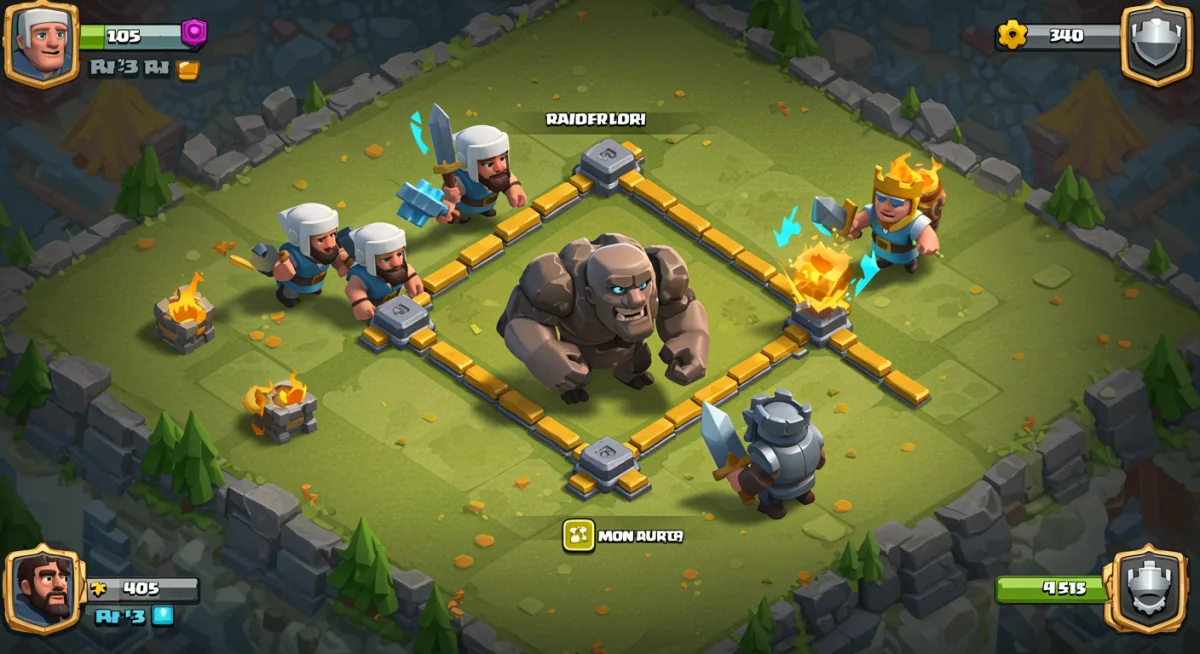
Maximizing spell value also means understanding the exact radius and damage output of each spell. Sometimes, waiting an extra second for more units to enter the radius, or aiming slightly off-center to hit a tower, can drastically change the outcome of an engagement. This precise application of spells, born from keen observation and predictive acumen, is a powerful contributor to achieving a guaranteed 20% win rate boost, turning potential losses into decisive victories.
Adapting Placement to Opponent’s Deck and Playstyle
No single placement strategy works against all opponents. True mastery in Clash Royale involves the ability to adapt your placement techniques on the fly, based on the opponent’s deck composition, observed playstyle, and current elixir advantage. This dynamic adaptation is what separates good players from truly great ones, allowing them to consistently outmaneuver their adversaries.
During the initial moments of a match, pay close attention to the cards your opponent plays. Are they aggressive? Do they rely on heavy tanks or swarm units? Do they have powerful splash damage or air defense? Answering these questions quickly will inform your defensive and offensive placement decisions for the rest of the game. For example, against a heavy spell cycle deck, you might need to spread your troops more, while against a beatdown deck, you’ll focus on strong single-target defense.
Reading Your Opponent’s Hand and Intentions
Reading your opponent is about more than just seeing their deck; it’s about anticipating their next move. This comes with experience and careful observation.
- Elixir Count: Keep track of your opponent’s elixir. If they’re low, you can afford to be more aggressive with your placements.
- Card Rotation: Notice which cards they’ve played recently. This helps predict what might be in their hand next.
- Standard Deployments: Many players have predictable deployment patterns. Exploit these by pre-placing counters or spells.
Adapting your placement means understanding when to be conservative and when to take risks. Against an opponent with a strong Golem push, your defensive placements will prioritize pulling the Golem and quickly eliminating its support. Against a quick cycle deck, you might need to use buildings to absorb hits while you cycle to your key defensive cards. This flexibility and strategic foresight in placement are indispensable for any player aiming to achieve a guaranteed 20% win rate boost and dominate the arena consistently.
Practice and Refinement: The Path to Consistent Victory
Theoretical knowledge of advanced Clash Royale placement techniques is only half the battle. The other, arguably more crucial half, is consistent practice and refinement. Like any skill, mastering placement requires dedication, repetition, and a willingness to learn from every match, whether it’s a victory or a defeat. The subtle nuances of dropping a card one tile to the left or right, or delaying deployment by a fraction of a second, can only be perfected through hands-on experience.
One of the most effective ways to refine your placement is through replay analysis. Watch your own games, focusing specifically on your troop and spell deployments. Ask yourself: Could this card have been placed better? Did I get maximum value? Did I miss an opportunity to activate my King Tower? Critically evaluating your gameplay provides invaluable insights that can directly translate into improved performance and a higher win rate.
Effective Practice Methods
Structured practice can accelerate your learning curve and solidify advanced placement techniques into muscle memory.
- Friendly Battles: Practice specific techniques with clanmates, focusing on one aspect of placement at a time (e.g., King Tower activation drills).
- Challenging Opponents: Play against a variety of opponents in challenges or ladder to test your adaptability and decision-making under pressure.
- Replay Analysis: Regularly review your own matches, pausing to analyze each deployment. Identify mistakes and strategize how to correct them.
Moreover, don’t be afraid to experiment with new placements or try unconventional approaches. Sometimes, a slightly different angle or an unexpected deployment can catch your opponent off guard and lead to an easy win. The journey to a guaranteed 20% win rate boost is continuous, demanding constant learning and adjustment. Embrace the process of practice and refinement, and you’ll find your Clash Royale skills reaching new heights, making you a formidable opponent on the battlefield.
| Key Placement Technique | Brief Description |
|---|---|
| King Tower Activation | Luring specific enemy troops to trigger your King Tower’s offense for defensive advantage. |
| Kiting and Luring | Redirecting powerful enemy units away from towers using cheaper troops or buildings. |
| Split Pushes | Deploying threats on both lanes simultaneously to overwhelm and divide opponent’s defenses. |
| Predictive Spell Placement | Anticipating enemy troop deployments to land high-value, pre-emptive spells. |
Frequently Asked Questions About Clash Royale Placement
The most crucial aspect is understanding troop pathing and target priority. This fundamental knowledge allows you to manipulate enemy movements, optimize your defensive and offensive setups, and achieve favorable elixir trades consistently, leading to a significant win rate increase.
You can activate your King Tower by luring specific troops like Hog Rider or Goblin Giant using cheap units or buildings placed precisely in the middle. Timing is key to ensure the enemy troop crosses the activation line while minimizing damage to your Princess Tower.
Split pushes involve deploying threats on both lanes simultaneously to divide your opponent’s attention and elixir. They are best used when you have an elixir advantage or when your opponent commits heavily to one side, leaving the other vulnerable for a breakthrough.
Predictive spell placement significantly boosts your win rate by allowing you to preemptively counter enemy troops or spells. By anticipating where your opponent will play their cards, you can land high-value spells that eliminate threats before they can cause damage, securing elixir advantage.
Replay analysis is vital for mastery. By reviewing your games, you can identify suboptimal placements, understand missed opportunities, and analyze opponent strategies. This self-correction process helps refine your technique, turning mistakes into valuable learning experiences for future matches.
Conclusion
Mastering advanced Clash Royale placement techniques is not merely about memorizing optimal spots; it’s about developing a profound understanding of game mechanics, troop interactions, and opponent psychology. By diligently applying the strategies discussed—from King Tower activation and precise kiting to sophisticated split pushes and predictive spell usage—you will undoubtedly observe a significant improvement in your gameplay. The journey to a guaranteed 20% win rate boost is one of continuous learning and refinement, transforming every match into an opportunity to showcase strategic brilliance and secure consistent victories.


